
Here are step-by-step instructions for programming your GDO-10 Remote Control.
Step 1. To access the control panel, unscrew the bottom of the console cover and remove

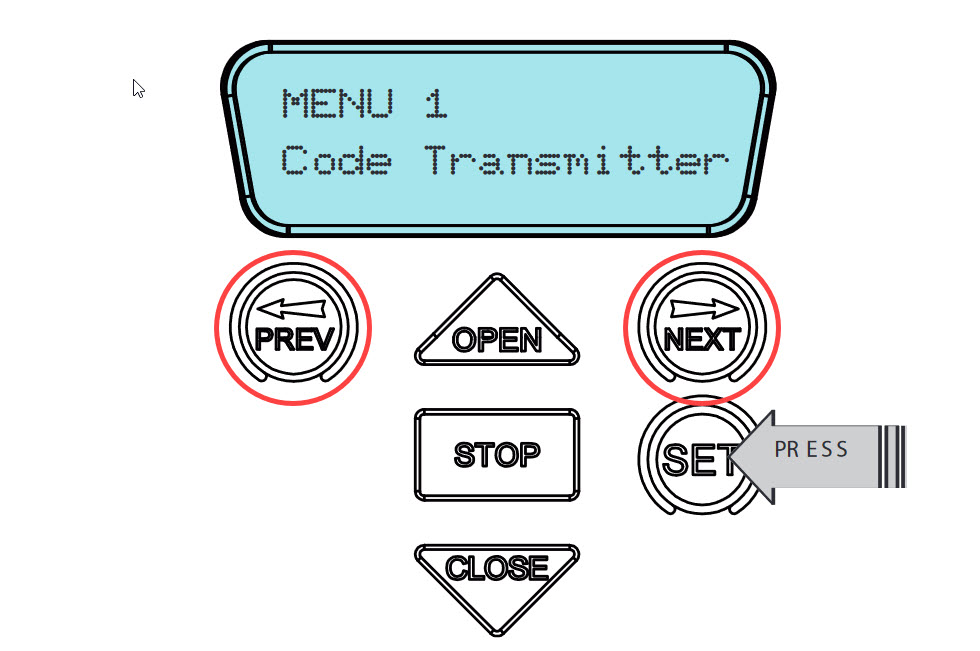
Step 2. Navigate the Menu using the PREV and NEXT buttons
Step 3. You will be promoted on the screen to press one of the four buttons on the remote.
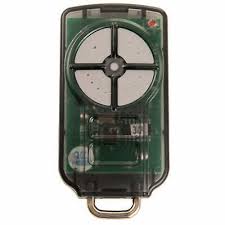
Step 4. You will be promoted to press that same button one more time.
Step 5. Press the SET button on the control panel
Step 6. Test the Remote Control to ensure the programming is successful.
